One way to level up your brewing abilities is to begin making yeast starters. This becomes especially important if you plan on using a yeast that was not a freshly bought commercial strain (recovered via yeast washing, or from a started bug), or plan on having a rather high starting gravity. Giving your yeast an extra bit of time to build up its population before putting them to work can help prevent your fermentation from stalling. A stalled fermentation can be difficult to restart, and can also introduce off-flavors from your stressed yeast (which should eventually age out, but why increase that aging requirement unnecessarily?).
This is where a Stir Plate comes in. You’ve probably seen them in some movie science lab, but if you’re unfamiliar with them, they are essentially a box with a spinning magnet inside. You place the container of liquid on top of it, and a ceramic-coated bar magnet goes into the liquid to be stirred. The spinning magnet in the box attracts the bar magnet’s poles and causes it to spin within the liquid, stirring it. Stirring it quick enough creates a vortex in the liquid, which introduces a much more constant supply of oxygen, as well as letting out CO2, than an occasional shake. This promotes a faster and more healthy reproduction rate of your yeast.
By the time you’re ready to pitch, you’ll have a much larger population of yeast, ready and raring to ferment your must, once introduced. This will allow them to get right to work turning those sugars into alcohol without that initial lag period. This will also decrease the time that the yeast are in a high gravity environment, which is stressful on their cell walls. A high enough gravity will actually pull the water out of them, causing them to dehydrate, which decreases the efficiency of the alcohol conversion process and could kill them if severe enough. Enough die and you’ve stalled the fermentation.
There are several brewing specific stir plates available for purchase. However, they tend to be more suited for very large starters meant for a more industrial scale of production. Due to this they have a higher price to compensate for this added power and capability.
The basic premise of a stir plate is pretty simple, so I figured I could create my own version for a fraction of the cost. And I did end up accomplishing that, with my homemade version coming in around $30 to build, compared to the $100+ price tags of the brewing stir plates I was seeing. Then I realized that there were more basic stir plates available for roughly the same price I spent on this project.
So, if you’re just interested in just having stir plate, you can find some adequate for the purposes of hobby brewing below.
If you’d still like to try your hand at constructing your own just for the fun of it, read on.
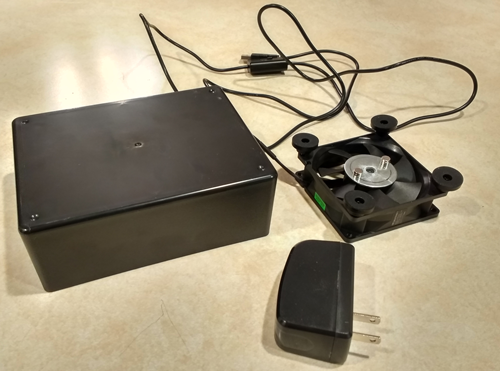
Materials Required:
- USB Computer Fan (adjustable speed preferred)
- USB Power Supply plug
- Magnets
- Plastic Case
- Screws
- Ceramic Coated Bar Magnet
- Metal Washer
- Electrical tape
- Super Glue
- Erlenmeyer flask (optional)
- Resistor (optional depending on fan speed)
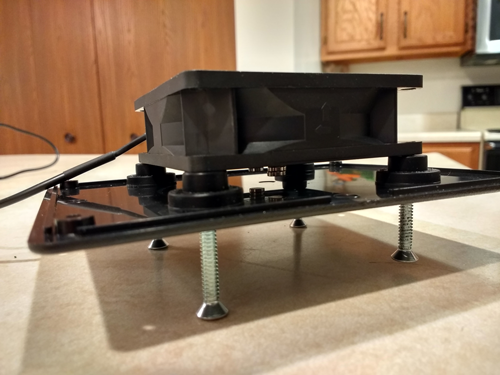
Start off by drilling holes in the lid of your case that line up with the screw holes on your fan. This will be used to hold the fan to the lid of case.
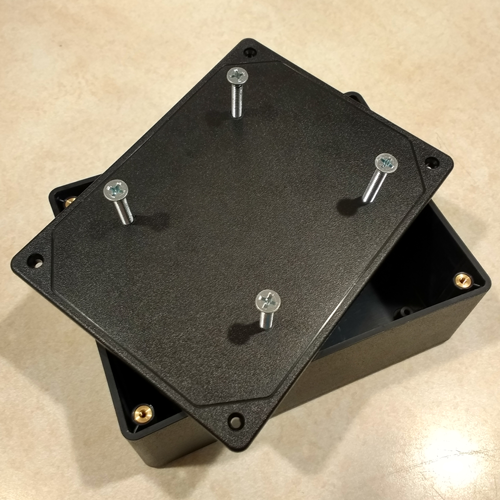
Next you’ll want to glue your metal washer to the center of the fan. This will give your magnets something to attach to, and allow the spinning motion to be transferred to your bar magnet within the liquid.
Be careful with this and make sure you are as centered as possible. Being off center can put stress on the fan motor and slow it down. If you are slightly off (like I am in the picture), you spin up the fan and hold a marker to it which will give you an even circle around the center point. The weight will still be off balance, but you can at least get your magnets to move in a smooth circle so it doesn’t throw the bar magnet around by wobbling too much.
I used some rare earth magnets I had lying around from a different project. They were a bit on the small side for this, so I ended up stacking a few of them together to get the necessary strength.
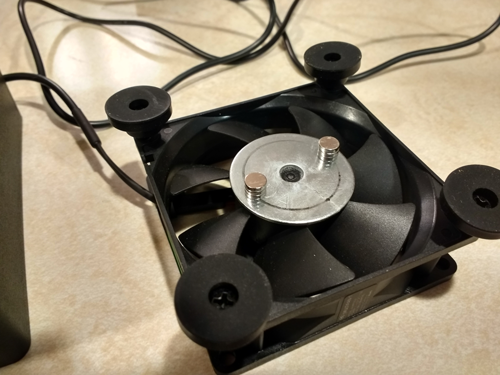
The fan I purchased was meant for use externally to electronics, so came with these rubber feet. I decided they would be useful keeping the vibrations to a minimum, as well as a spacer to give room for the magnets between the fan and the lid.
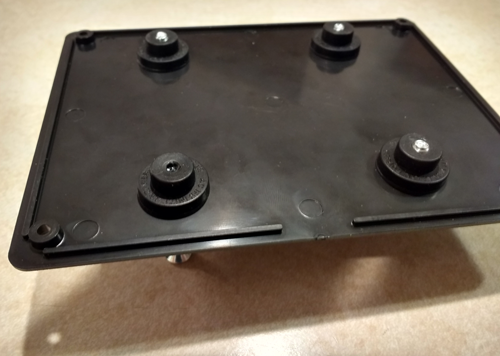
I also drilled a few air holes to reduce the drag on the fan when it spins within the case. If you want to go all out, you can probably remove the fan blades to reduce even more drag on the motor. One of the holes will be necessary to snake the power wire out through.
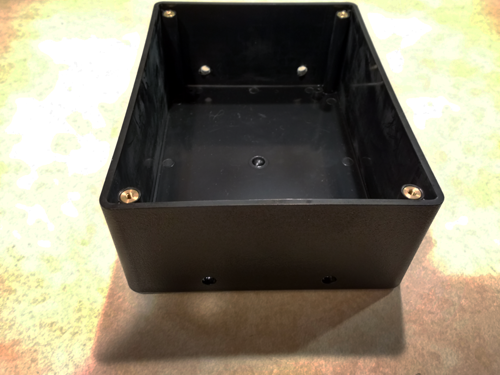
Here I’ve lined up everything on the inside of the lid, and am ready to attach the fan.
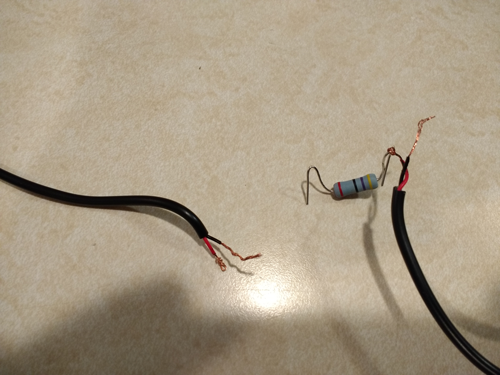
If you determine that your fan spins too fast for your magnets to grab hold of the bar magnet and keep it spinning smoothly, you can splice in a resistor to slow it down. I used a 2Watt, 47 ohm resistor. I think this was a bit high and I could have used slightly fewer ohms. The fan has 3 speed settings and now, only the fastest will give a decent spinning speed to the bar magnet.
You will have to cut the wire, anyway, in order to fit the power wire through the case (unless you drill a big enough hole to fit a USB plug).
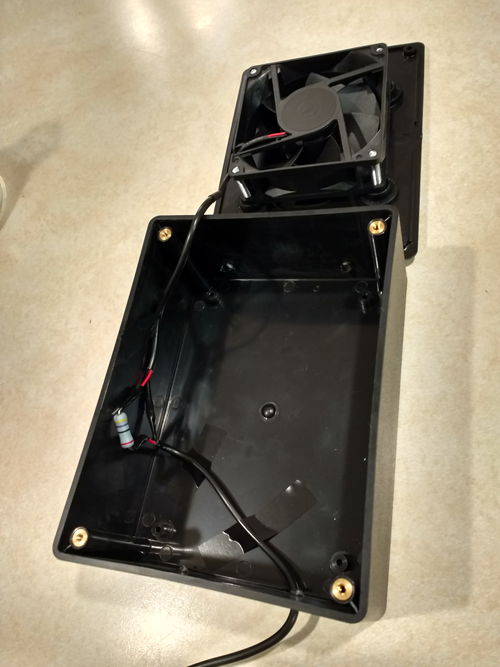
When everything was attached, I taped the wires to the walls to prevent them from moving around and potentially getting caught in the fan. Then all that was left was to screw the lid on.
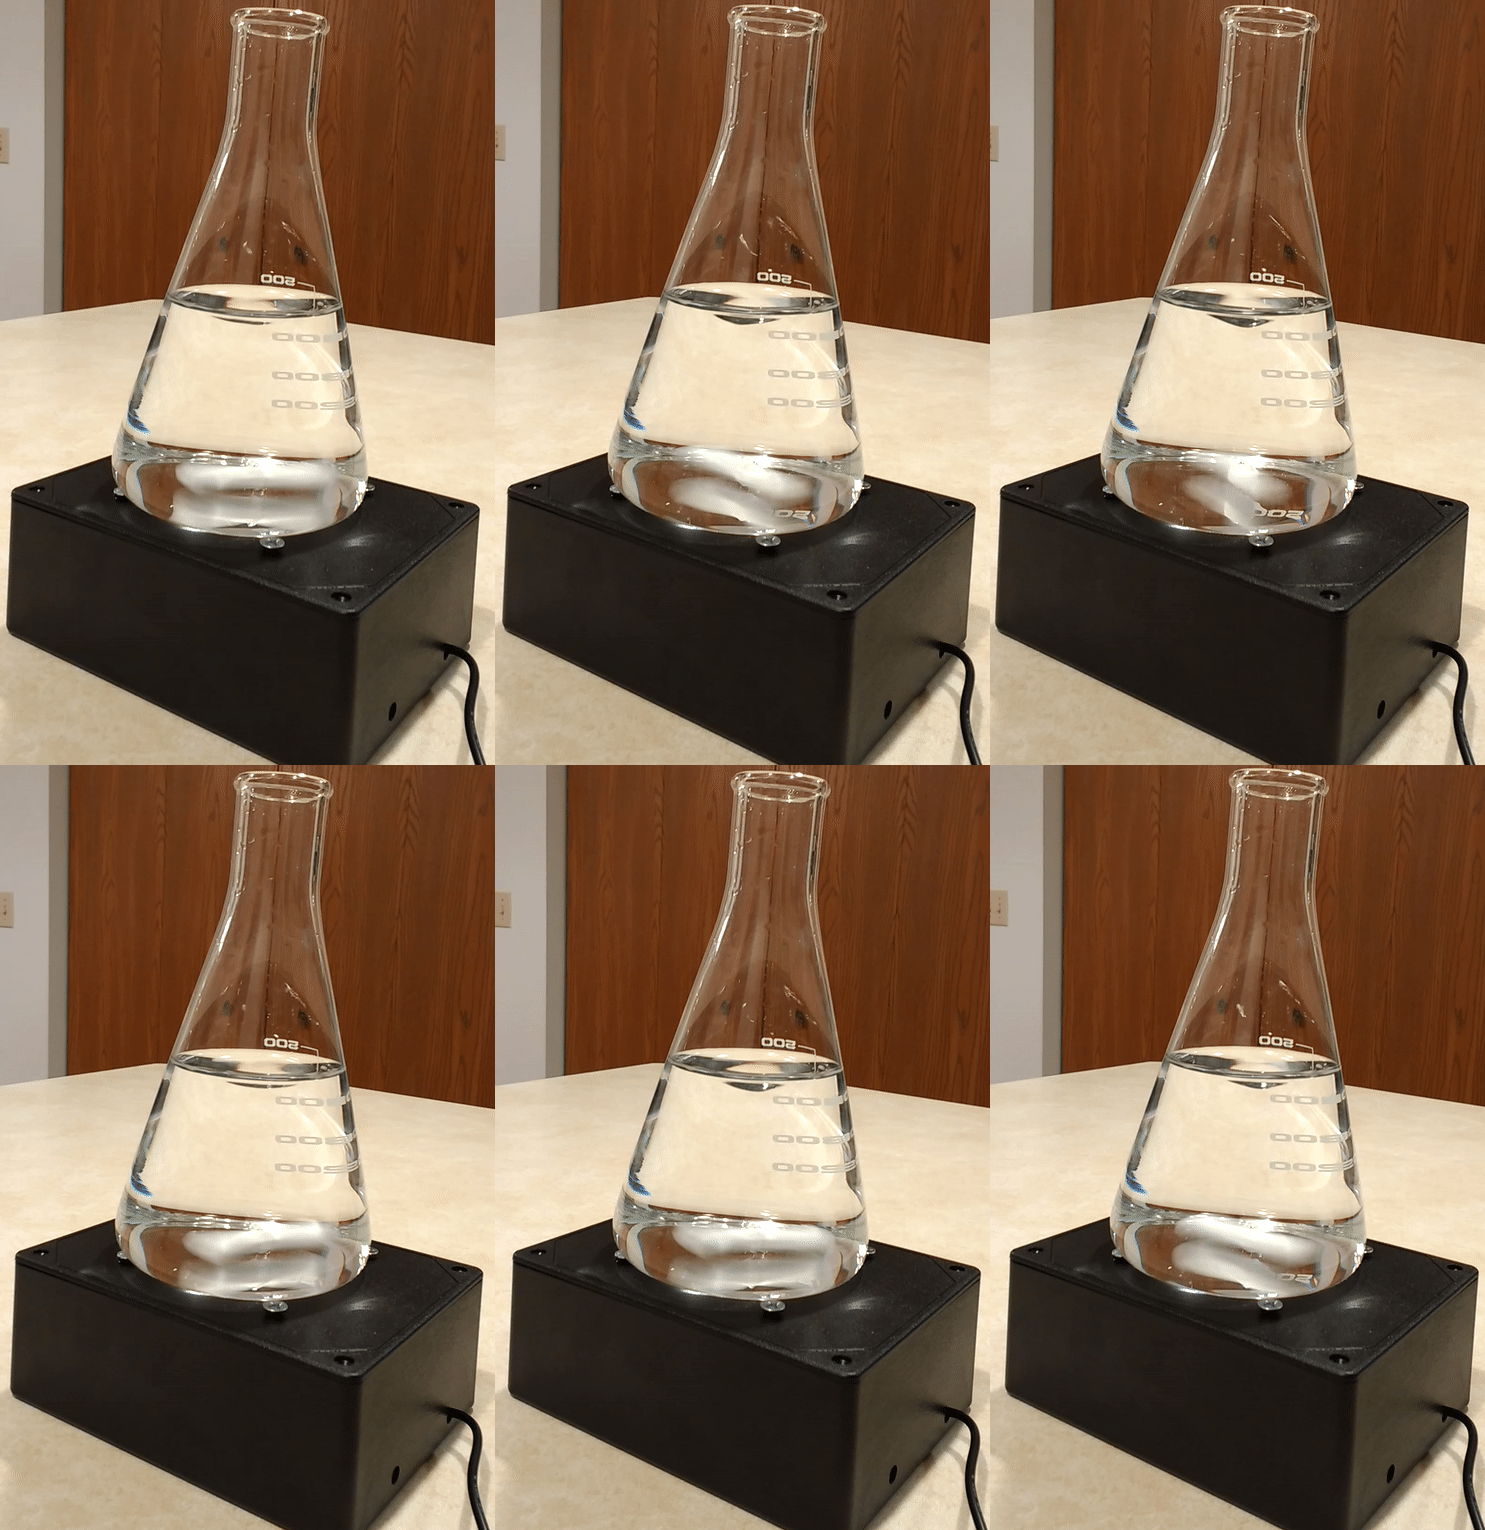
The final product in action. If I were to do this again, I’d use a slightly smaller resistor. You can see a small vortex here, but with a bit more speed, the stirring could be a bit more vigorous.


